The beauty of the beach wave is that by tailoring it to your unique hair texture, cut, colour and style, it can be nearly anything you want it to be. A mix of air-drying, tong work and the right products will help you create our signature beach wave with your own personalised spin on it. Let’s begin!
Step 1: Prime & Prep
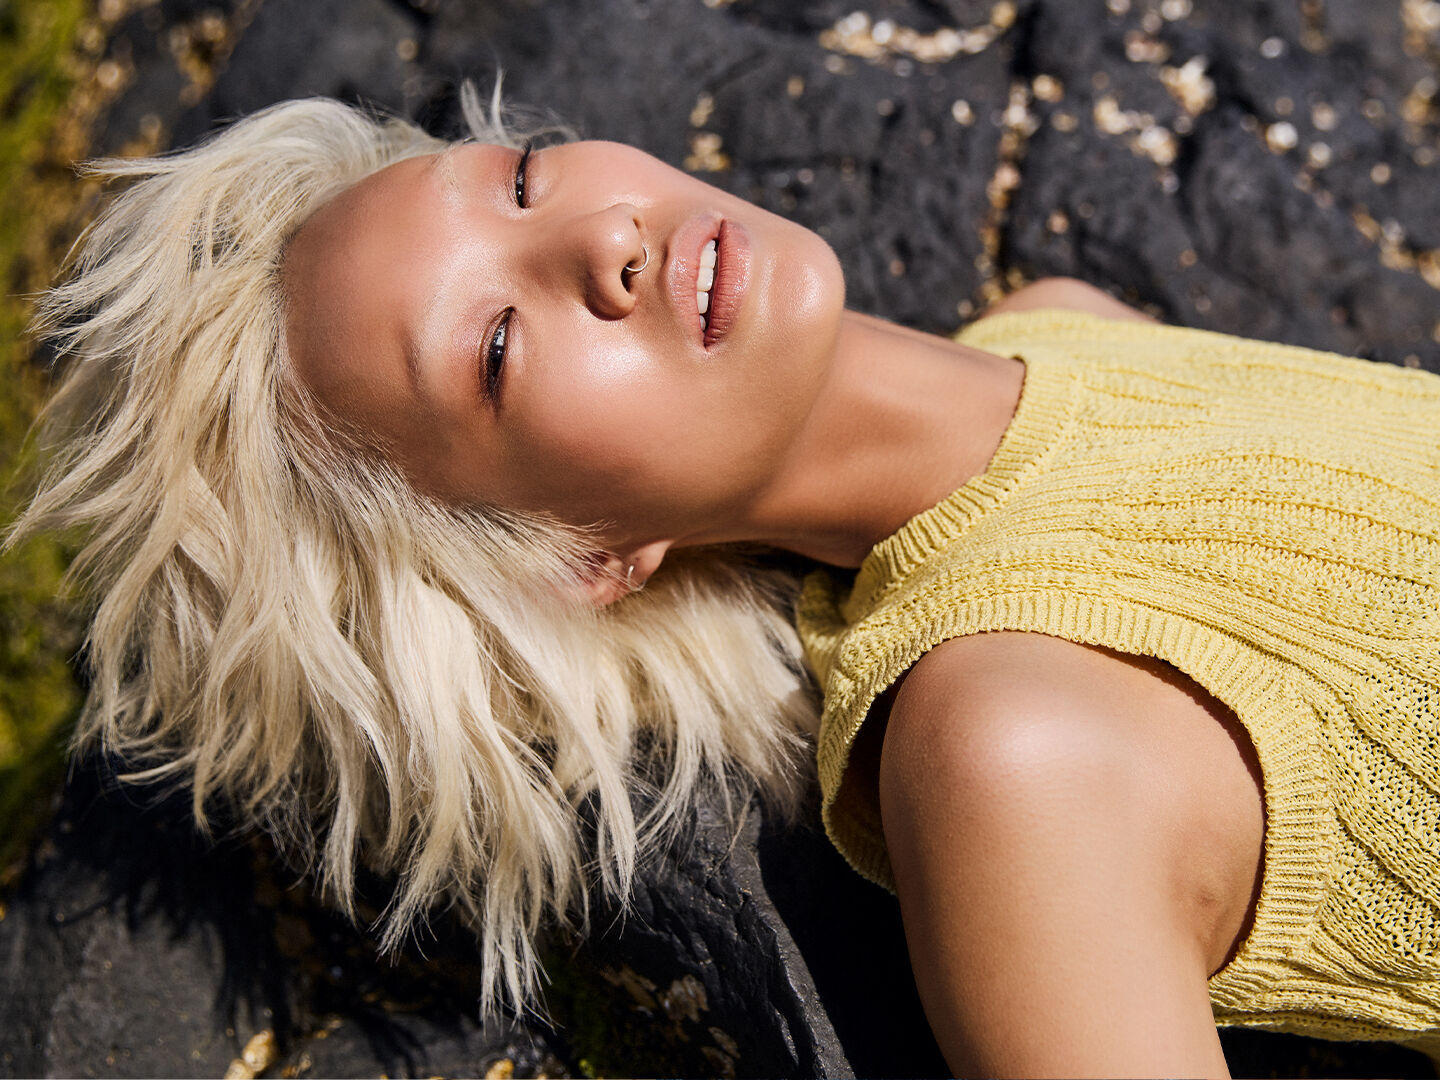
Every great style starts with prep, and for beach waves, this will be determined by your starting point—air-drying or blow-drying.
Air-Drying
If you’re using your natural texture as a base, air-drying is the way to go. Start your beach waves by adding a heat protectant and then layering with an air-dry creme. This duo ensures that if you need to touch up with heat later, your strands are still protected.
Product Recommendations: HEATED.DEFENSE + KILLER.TWIRLS
Blow-Drying
Taking the blow-dry route? Again, prep with a heat protectant and then follow with a lightweight heat-styling aid like EVER.SMOOTH for style longevity and memory hold. Since you’ll be adding waves back into your style with a curling iron, focus on getting the hair smooth and dry and adding a touch of volume at the scalp area.
Product Recommendations: HEATED.DEFENSE + EVER.SMOOTH
Step 2: Section & Curl
While a beach wave style is especially carefree—it still pays off to properly section the hair and have a plan. Because beach waves have a slightly messy and undone feel to them, you’ll want to alternate placement, technique and direction of curls for an iconic finish. This can be as easy as rolling one section toward the face and another away. If you want a truly bespoke finish, consider swapping in and out different sized barrels, mixing in S-wave techniques or a waver here and there to capture the feel.
Step 3: Product & Play
While everyone is concentrating on the products before you style, everyone tends to forget about adding them after. This can add such an important element to the finished look not just for longevity, but for the look and feel of a beach wave as well. Using beach look hair spray or texturising finishing sprays can add a windswept look that you can usually only get if you’ve been on the sand.
For best results, once hair is dried and cooled, spritz your desired spray from mid-lengths to ends. Keeping the scalp area clean for style longevity or utilising a dry shampoo if you want more grit, volume and movement.
Then use your fingers or a wide-toothed comb to break up the wave pattern and enhance a beachy finish.
Product Recommendations: HAIR.RESORT.SPRAY + BEDROOM.HAIR + FRESH.HAIR
Step 4: Keep Your Products Close
Once you’ve spent the time to create your look, make sure it stays. This is where keeping a few products and tools on hand can help. From stashing HAIR.RESORT.SPRAY to scrunch and refresh your wave to FRESH.HAIR dry shampoo to revive second-day strands, these are essentials for any beach bag.
And because every good beach wave routine deserves a beach bag moment, be sure to snag a limited-edition tote as a gift with purchase. Whether it’s a day at the beach or you’re trying to recreate it—beach waves just got that much better.
FAQ
Absolutely. Start with HEATED.DEFENSE and EVER.SMOOTH before styling, then alternate curl directions and finish with HAIR.RESORT.SPRAY for effortless, natural-looking texture.
Layering products makes all the difference. Use HEATED.DEFENSE for protection, finish with BEDROOM.HAIR or HAIR.RESORT.SPRAY, and refresh with FRESH.HAIR the following day.
Both work beautifully. Air-dry with KILLER.TWIRLS for natural texture, or blow-dry with EVER.SMOOTH before adding soft bends for a polished beach-inspired finish.


.png?sw=400&sh=554&strip=false)


