BOHO.BRAID Tutorial: A Bohemian Twist on Statement Braids
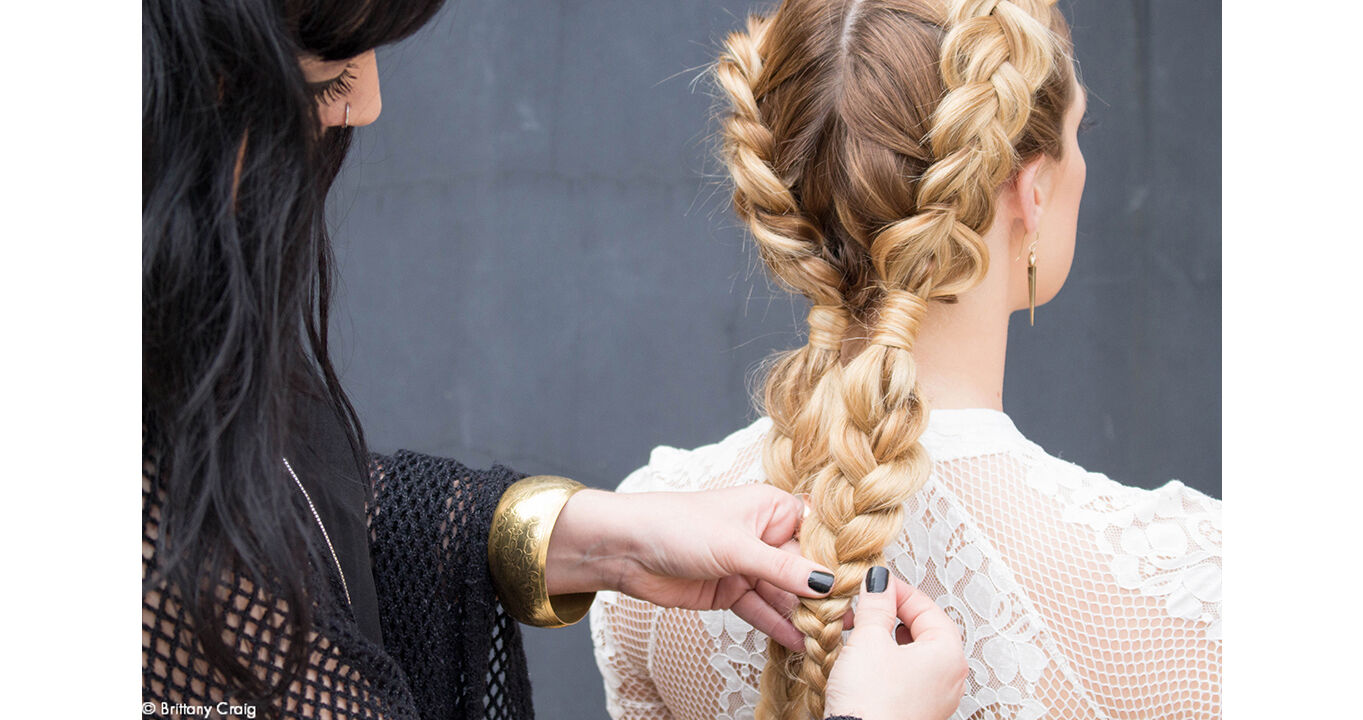
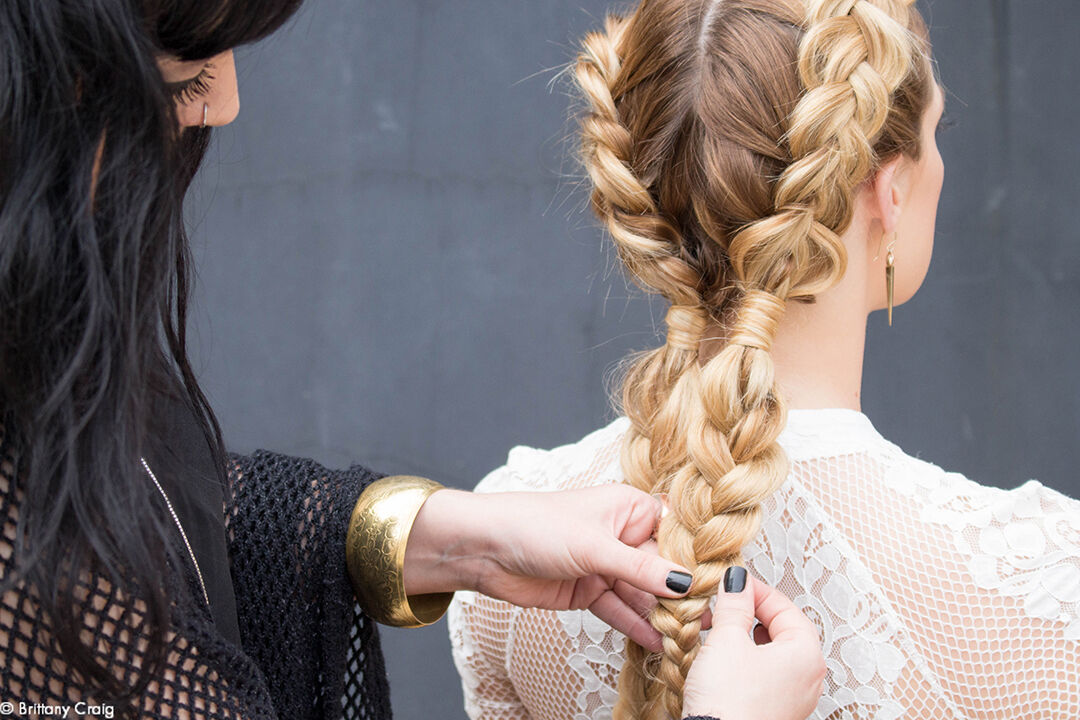

There has always been something so appealing about bohemian style; during recent seasons, fashion, beauty and lifestyle connoisseurs have proven that the boho vibe is long from gone. There is a subtlety to this deliberate style choice that gives us all the feels. Warm summer scents, flowy linen dresses and ethereal sun-kissed hair – it’s as if the boho lifestyle is all about living the eternal summer. Even if you can’t prance around in you wistfully printed maxi skirt all year round, there are subtle style cues you can incorporate for any occasion. With a fresh take on a festival-favourite, Austin, Texas stylist Brittany Craig has created a BOHO.BRAID tutorial to set your hair apart this season. Just a beginner at braiding? With three versions, she’ll take you through a few different ways to finish the look for beginners, intermediate levels or experts!
PREP WORK
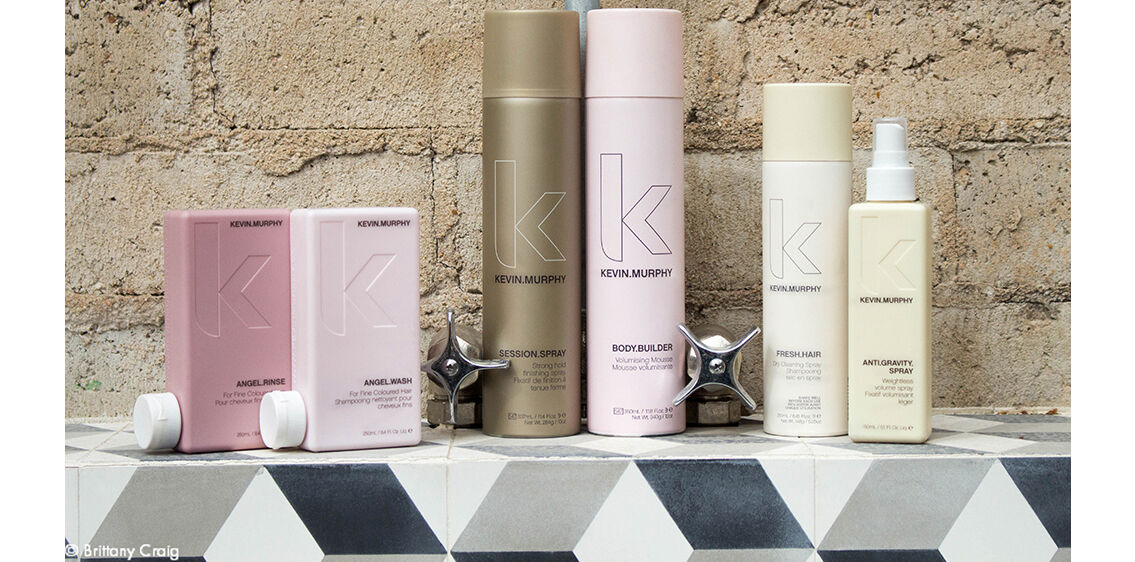
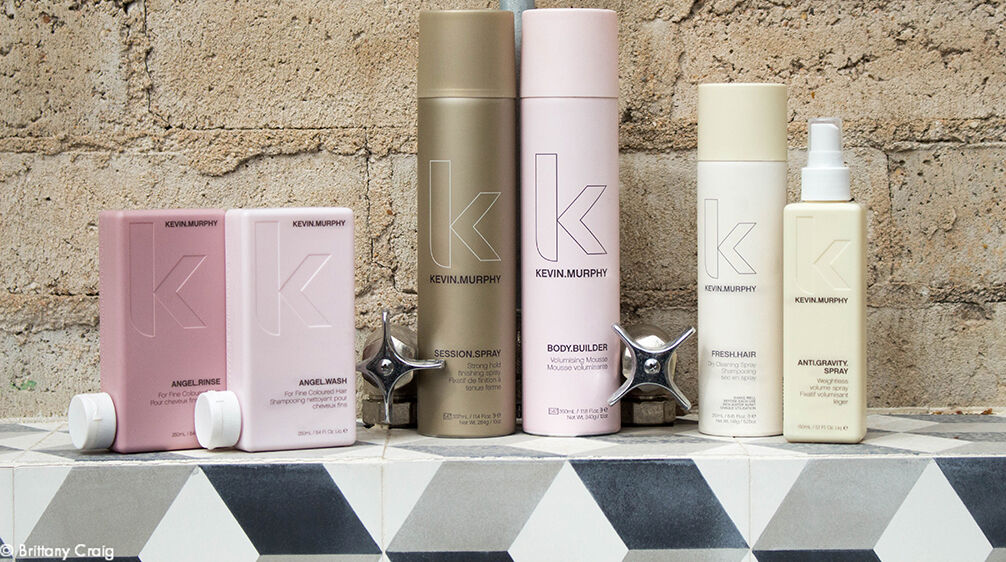

With any style, products are an essential element to creating your look. For the BOHO.BRAID, Brittany started her prep at the shampoo bowl. Selecting ANGEL.WASH and ANGEL.RINSE for her client’s hair type (colour-treated and fine-textured) she then applied BODY.BUILDER at the root and ANTI.GRAVITY.SPRAY throughout for added volume and hold. If your hair needs a little extra grip or you’re working on second-day strands consider adding FRESH.HAIR to give you a solid foundation to start. After braiding, have SESSION.SPRAY FLEX handy to secure your style, ease flyaways, and allow for a flexible finish.
THE BASE BRAID
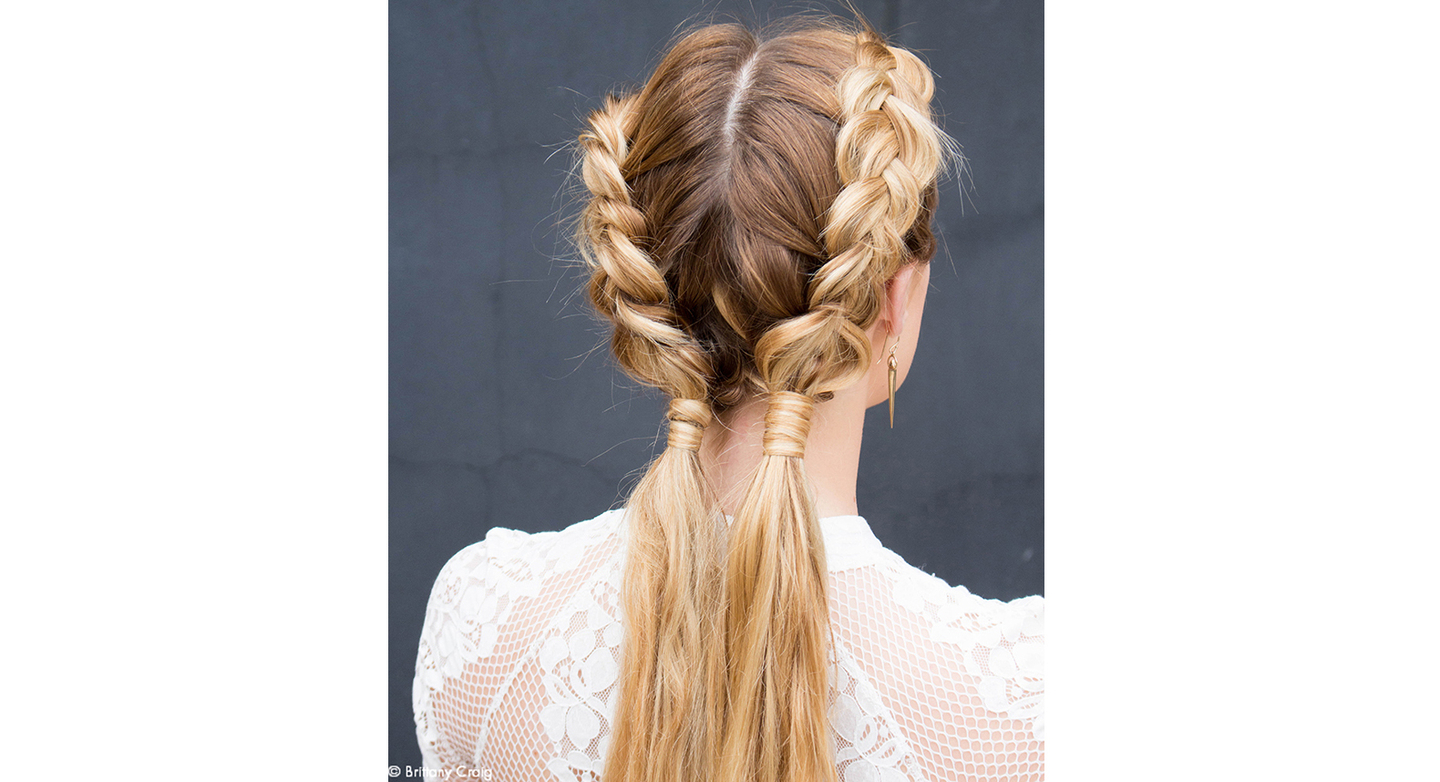
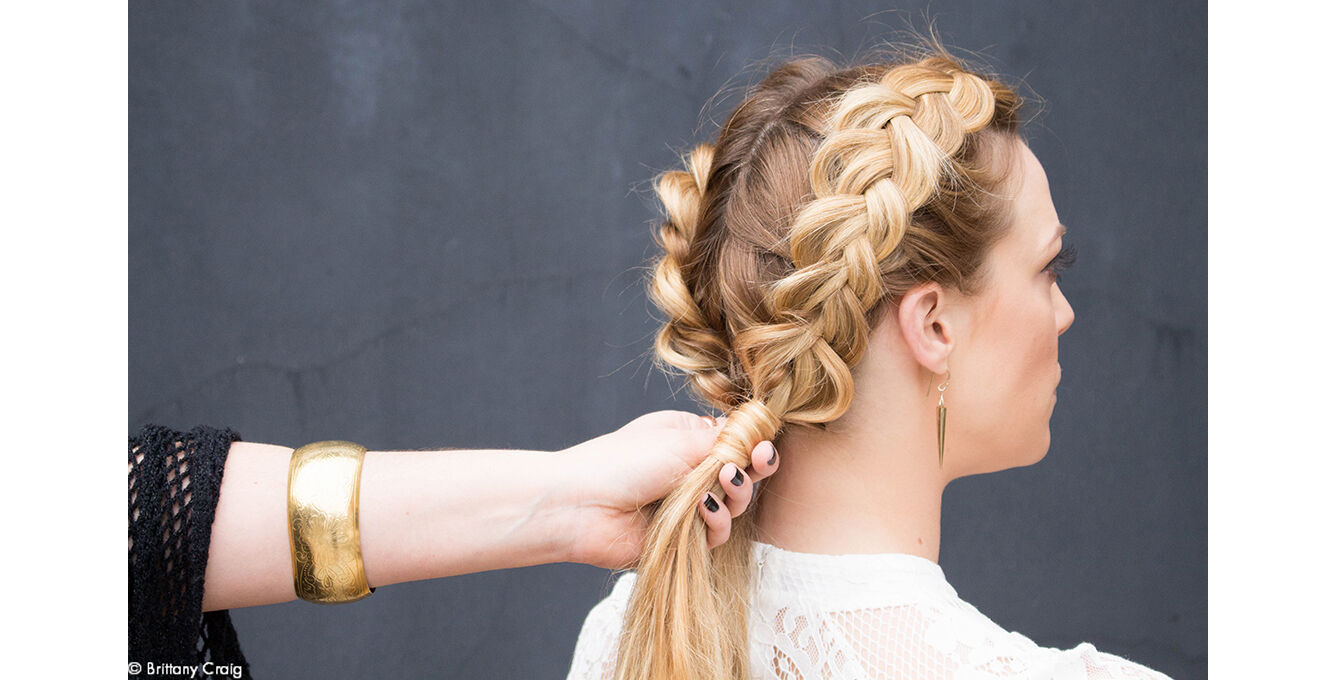
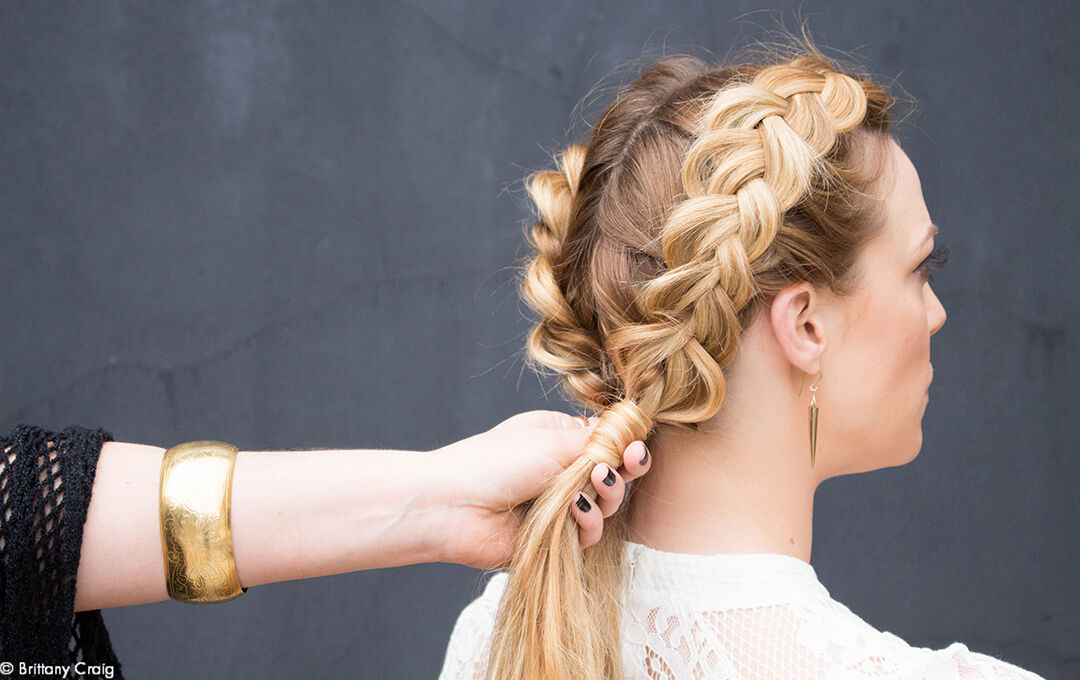
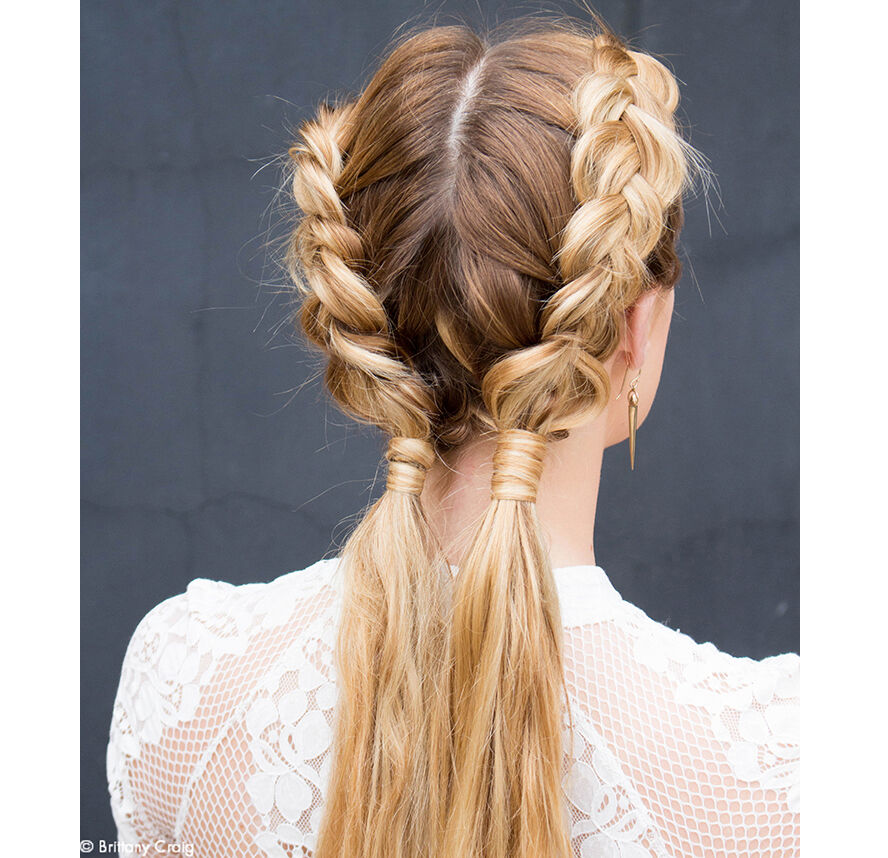
This base of all three finished styles begins with two Dutch braids. If you’re new to braiding – Dutch braids are simply the reverse of a traditional French Braid with an underhand feeding technique as opposed to an overhand technique.
- To begin, comb the hair thoroughly with the TEXTURE.COMB and part the hair down the center.
- Take even, clean sections and begin the Dutch braids on each side, fairly close to the scalp with medium tension.
- Braid from the forehead to the nape area and secure each side with a clear elastic.
- Once secure, gently loosen and feather the bread in each section to create a softer finish.
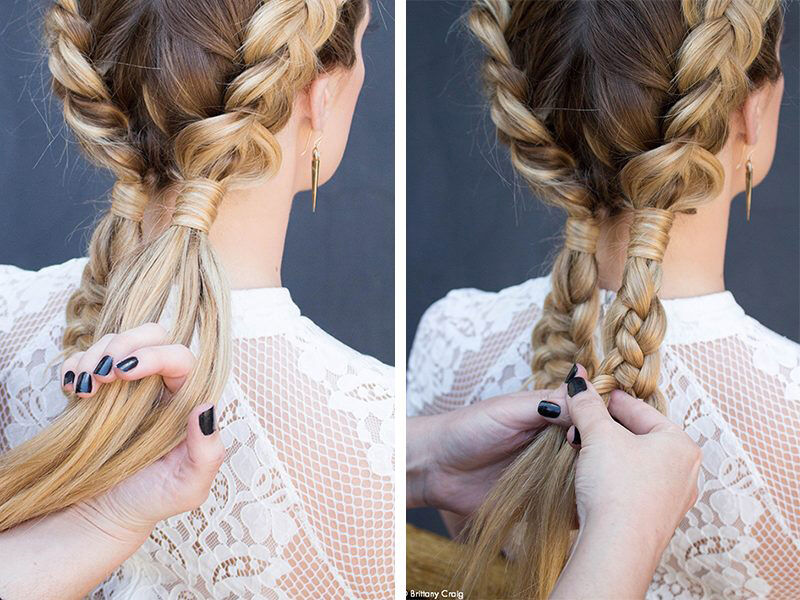
- Then, take a small piece of hair from the length of the ponytail, wrap it around the elastic to hide it and secure underneath with a bobby pin for a more finished look.

LOOK 1: THE 3-STRAND BRAID (Beginner)
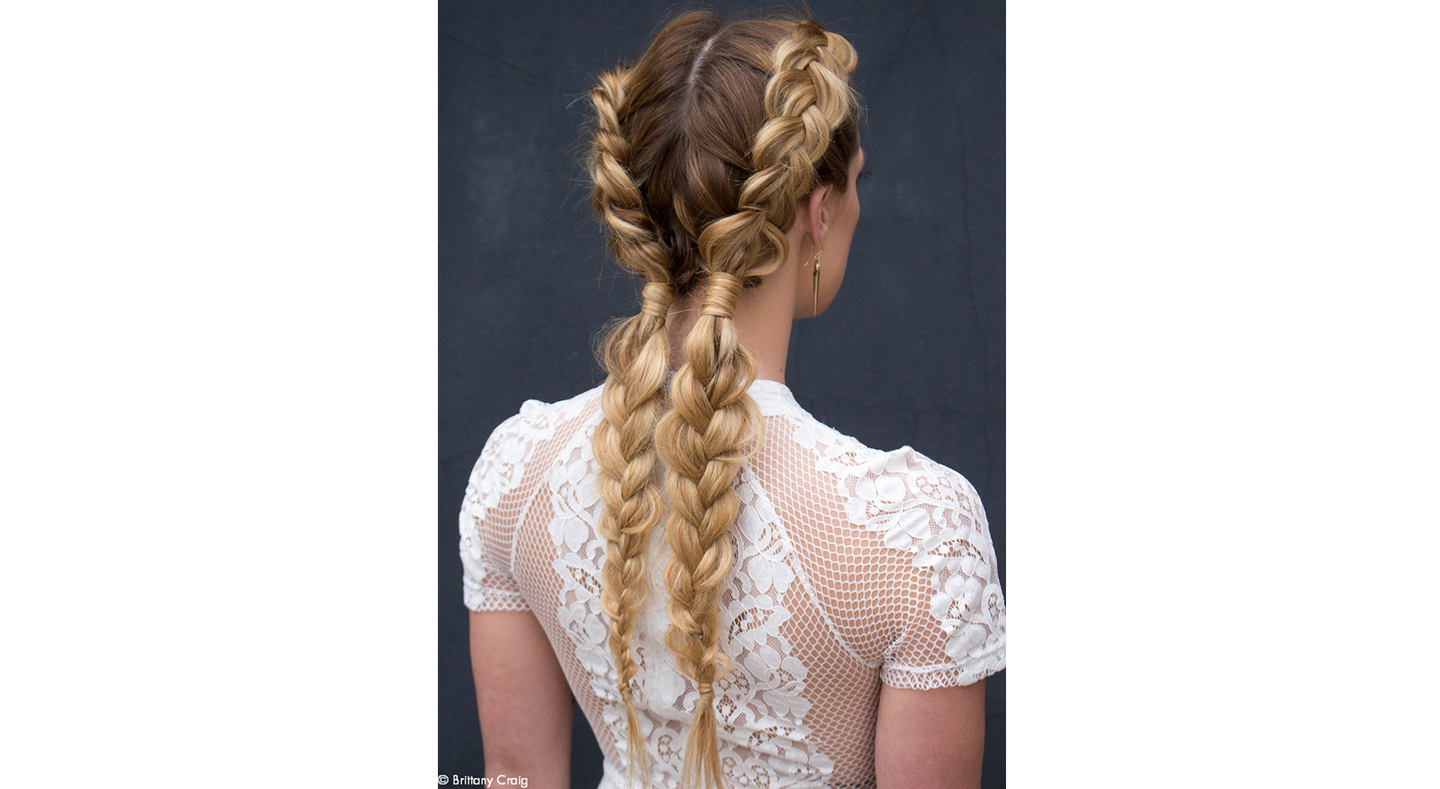
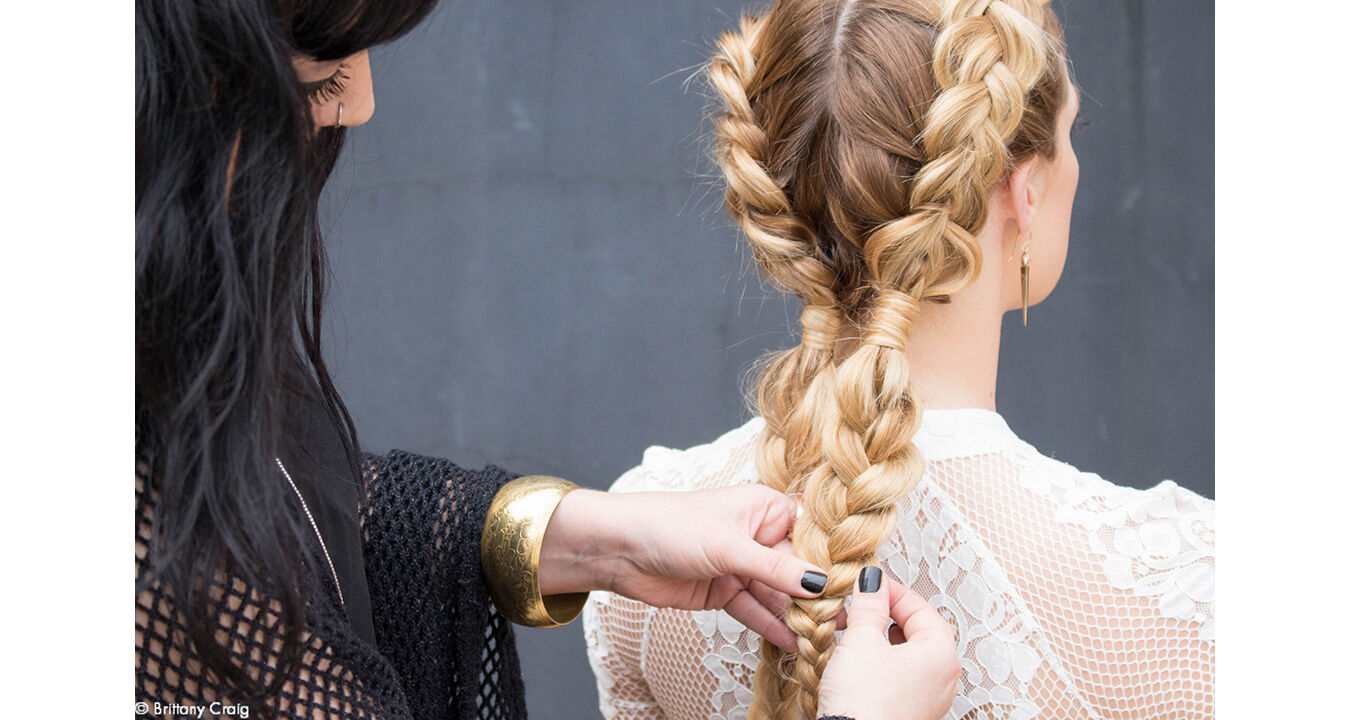
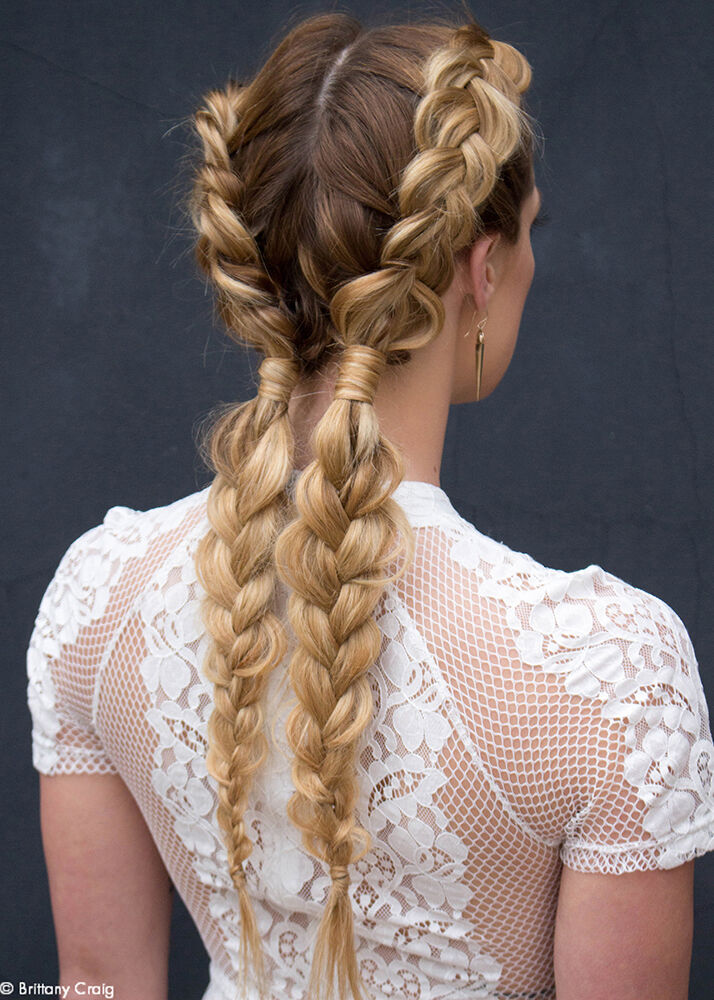
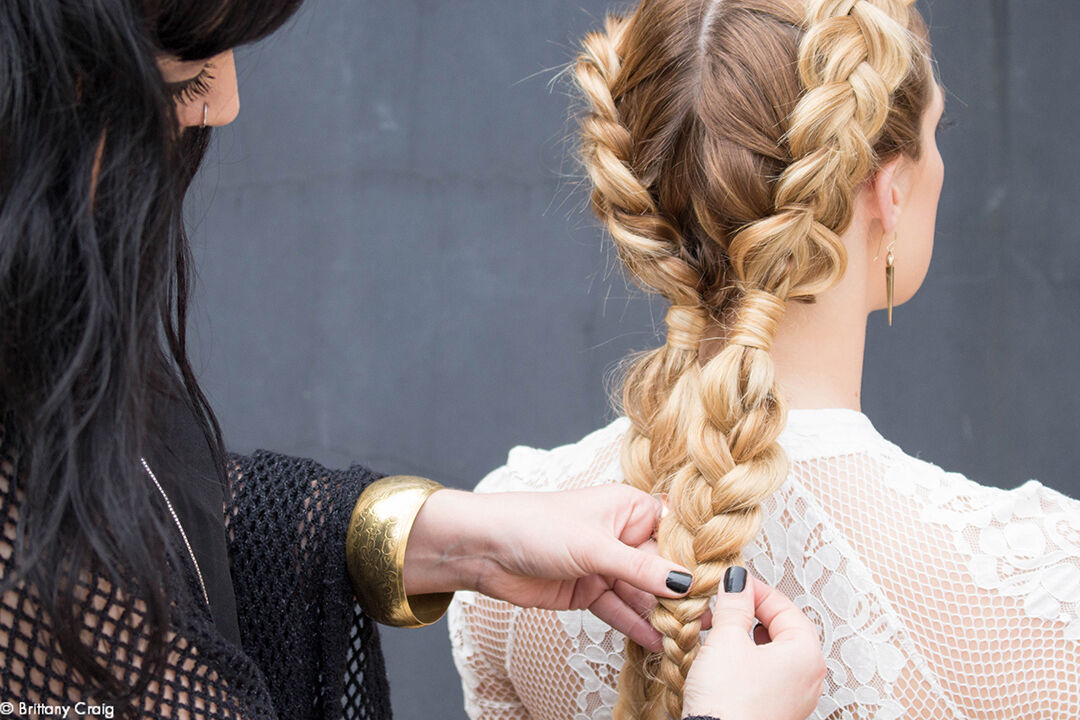
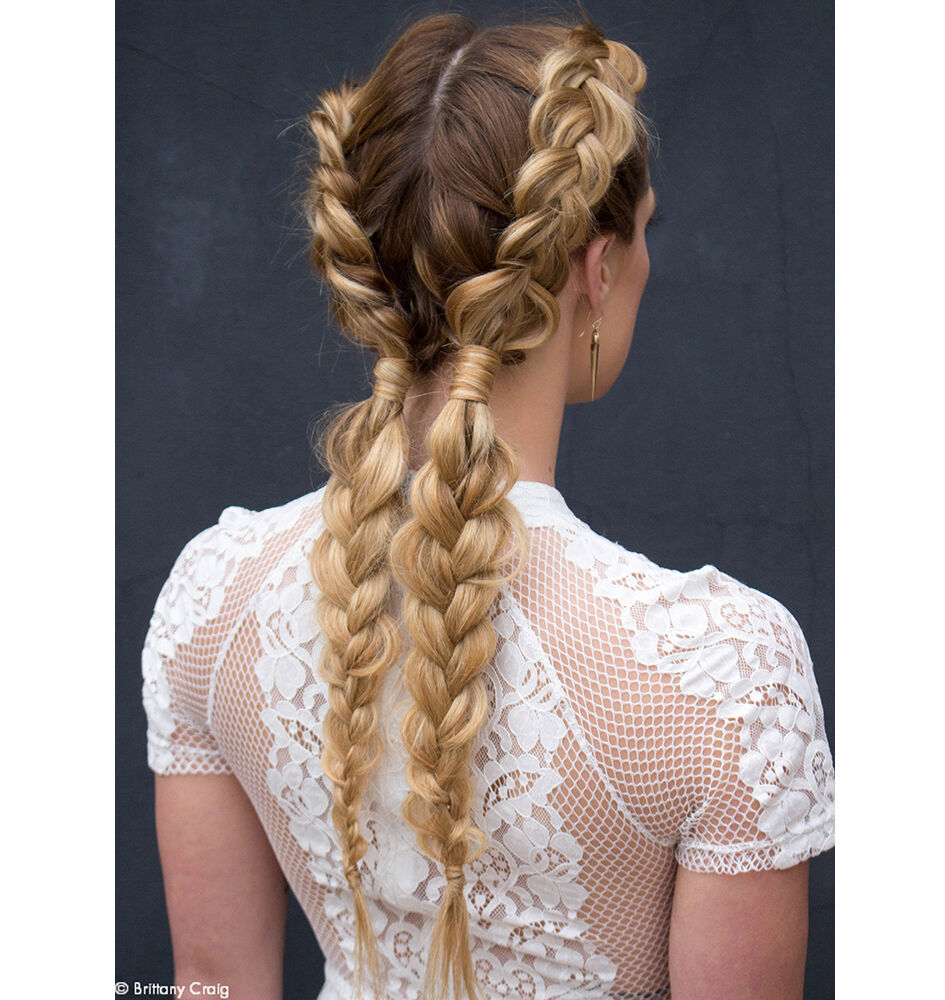

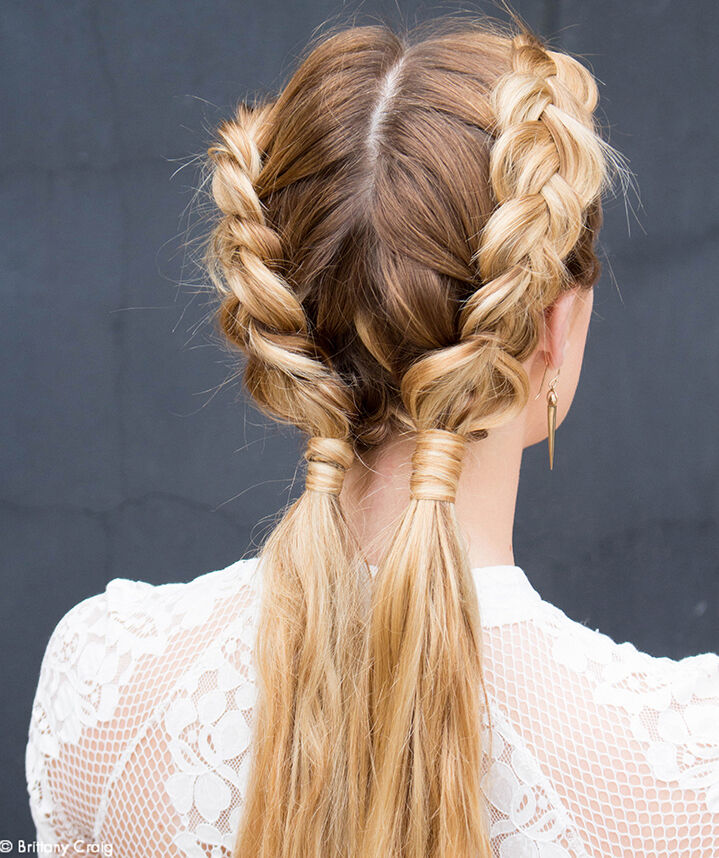
Once you’ve completed the base braid, you can easily finish the look by continuing a 3-strand braid – either overhand or underhand.
How to create a 3-strand braid
- Separate your section into three smaller and equal subsections.
- Take the outside section from the right and cross over the middle section so that it is now in the center.
- Then, take the outside section from the left and cross it over the middle section so that it is now in the center.
- Continue alternating each side until you run out of hair, then secure with an elastic, using a strand of hair and a bobby pin to hide the elastic once more.
LOOK 2: THE FISHTAIL (Intermediate)
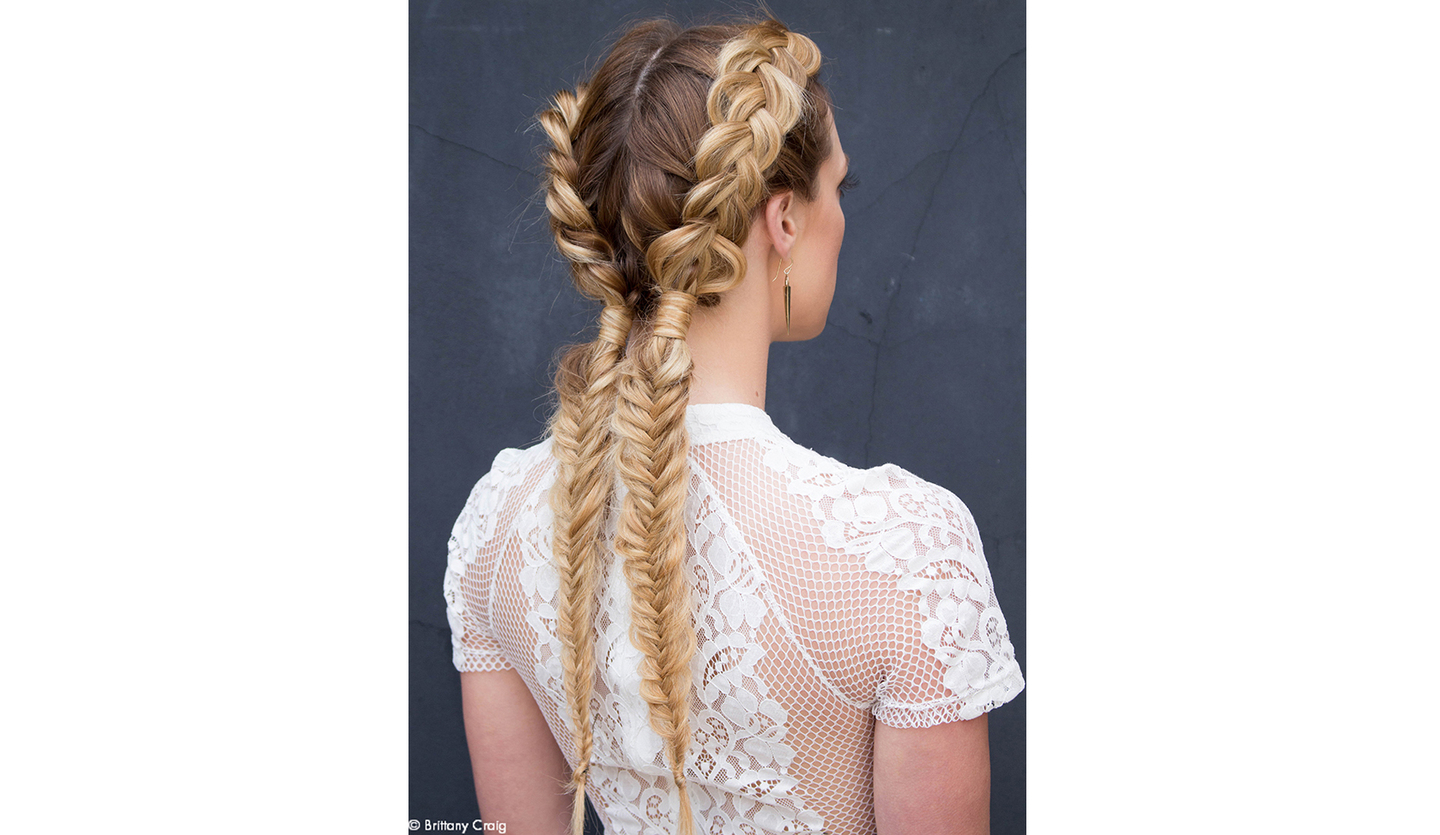
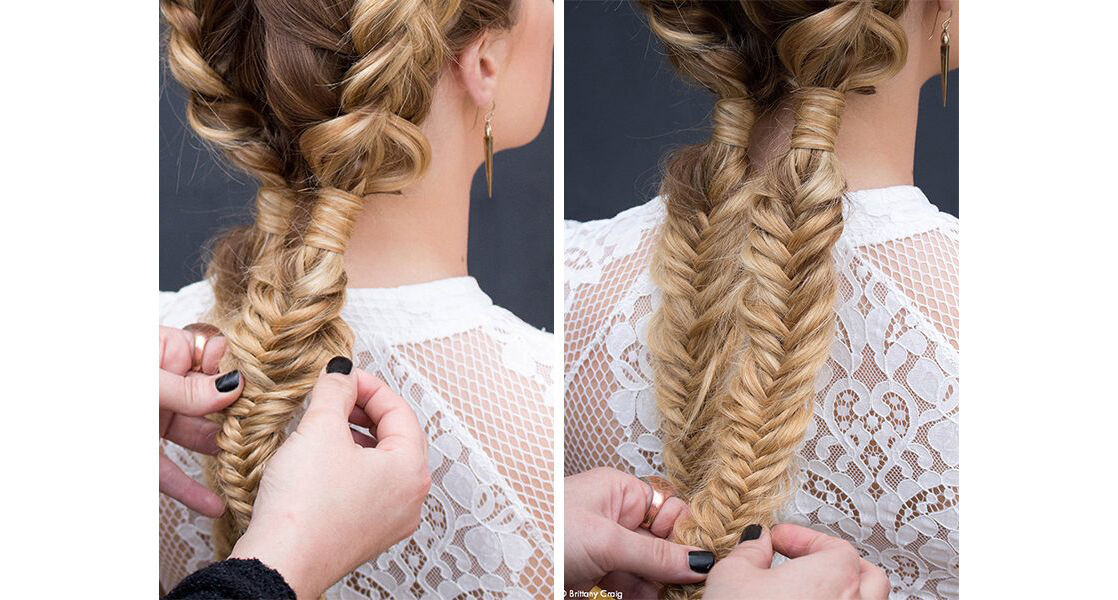
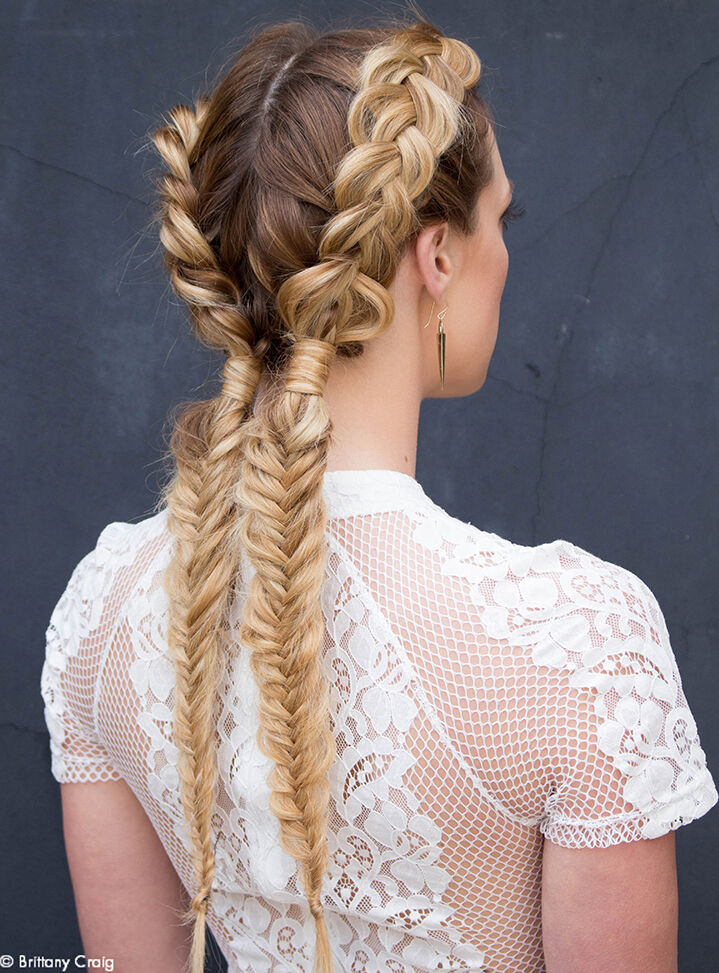
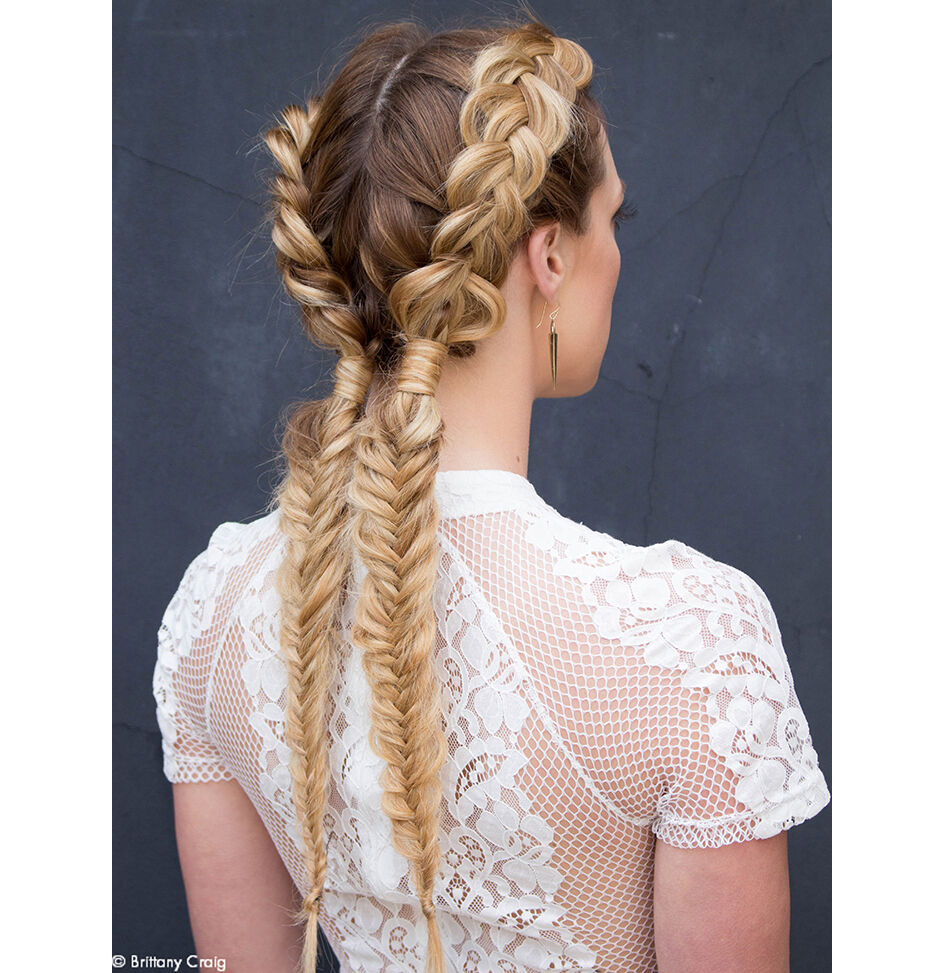
To finish this look and add a bit more finesse, opt for a fishtail braid throughout the ends of your length.
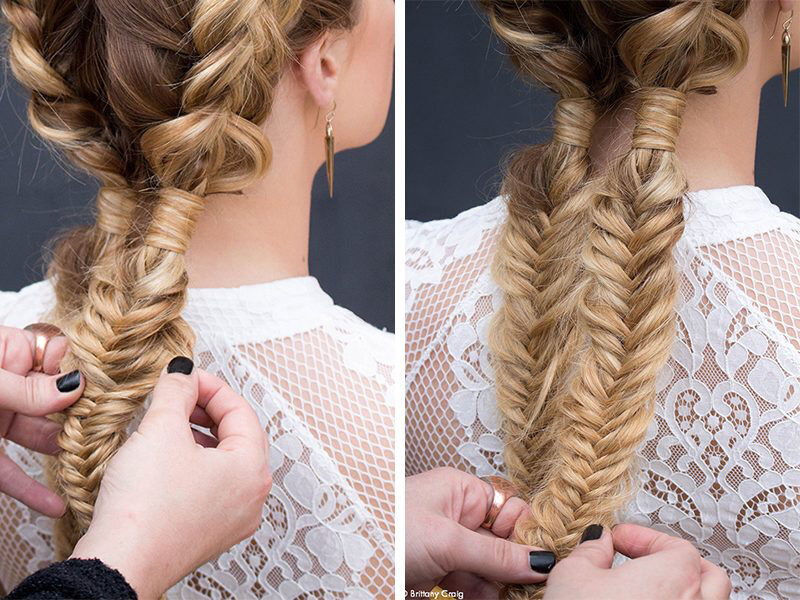

How to create a fishtail braid:
- Create a fishtail braid by first separating your ponytail into two smaller ponytails. You’ll want to keep two sections the entire time.
- With one section in each hand, begin taking a small subsection of hair from the right hand and crossing it over the section in the left hand. Do not twist the hair as you pass it.
- Then, repeat with your left section, feeding a small subsection of hair from the left section it into the right section.
- Sizes of the section should be relatively small and can vary for a more unique look. Repeat this process until you run out of hair.
- Once you’ve completed the second half of the braid and secured with a strand of hair wrapped around the elastic, gently pull and separate the fishtail braid for an ethereal finish.
LOOK 3: TRANSITION BRAIDING (Advanced)
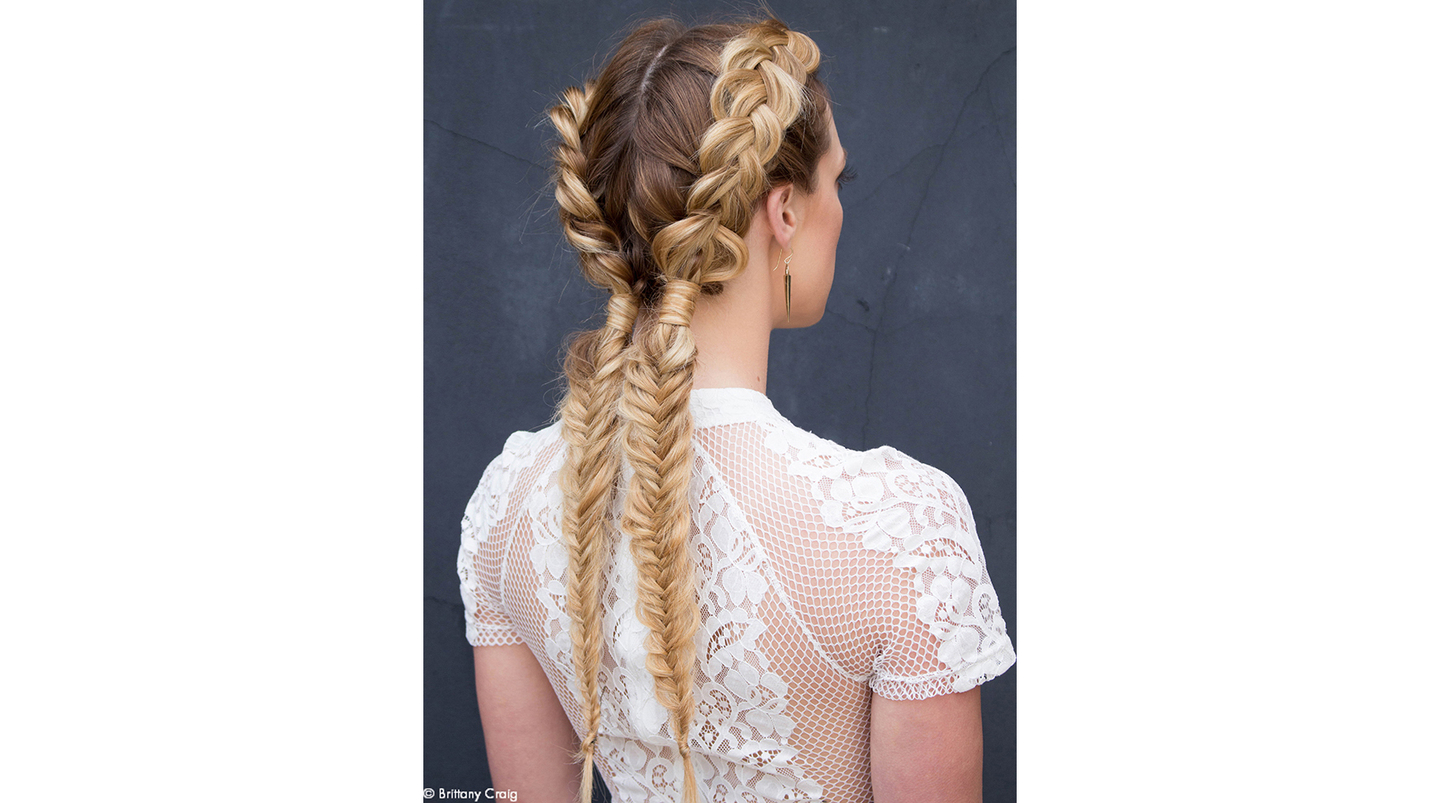
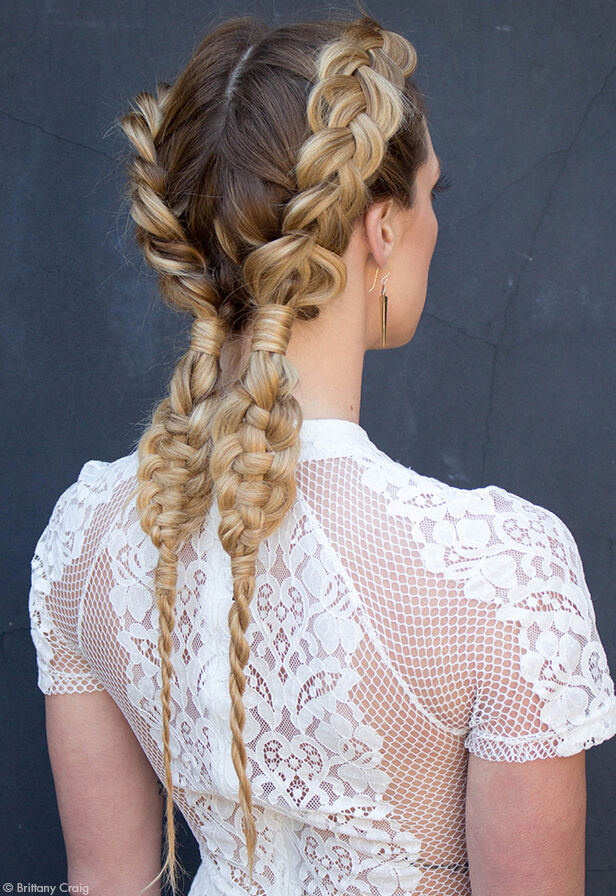
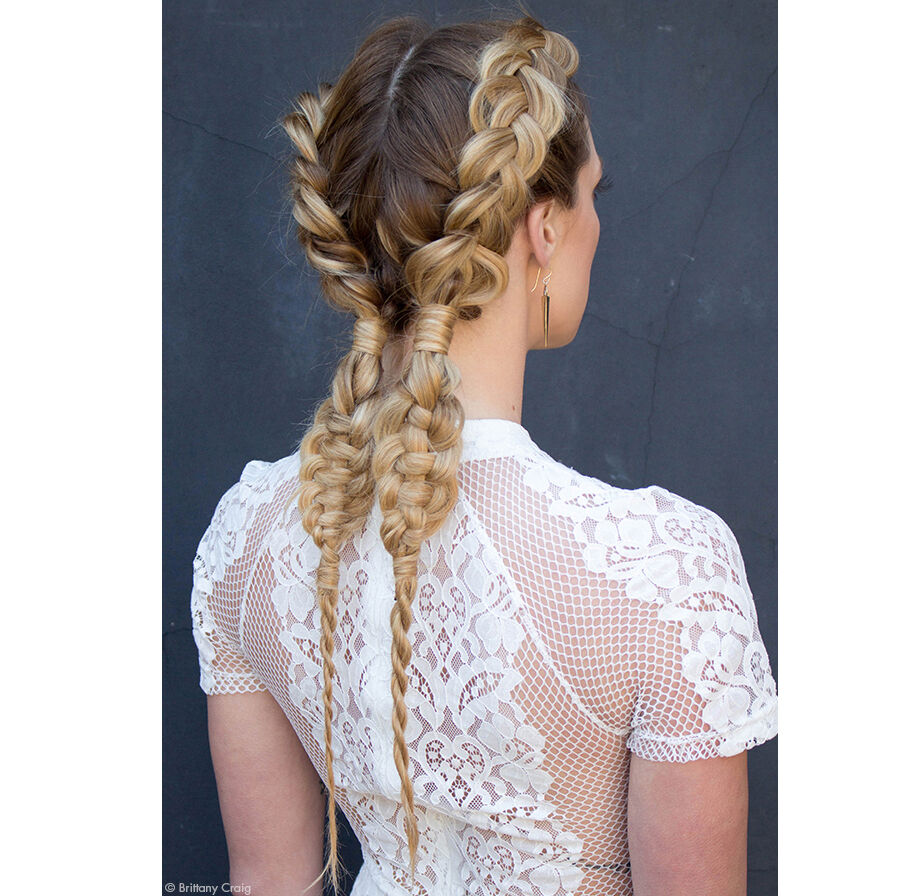
For an even more intricate look, opt to use the length of the hair to create a few transitional braids. First, start with a four-strand braid and move into a rope braid.
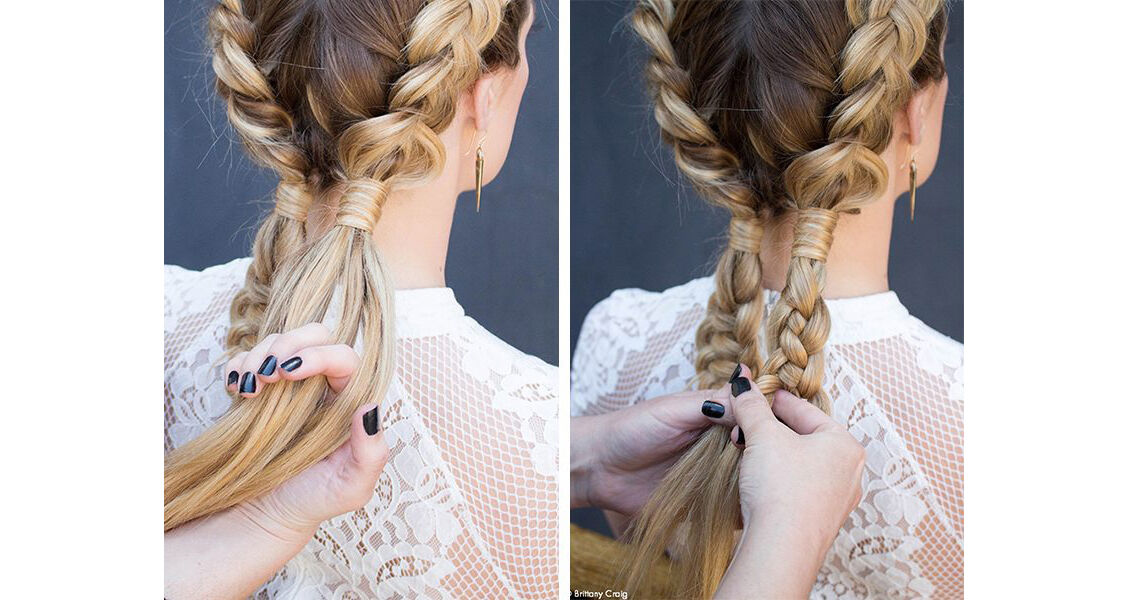
How to create the four-strand braid:

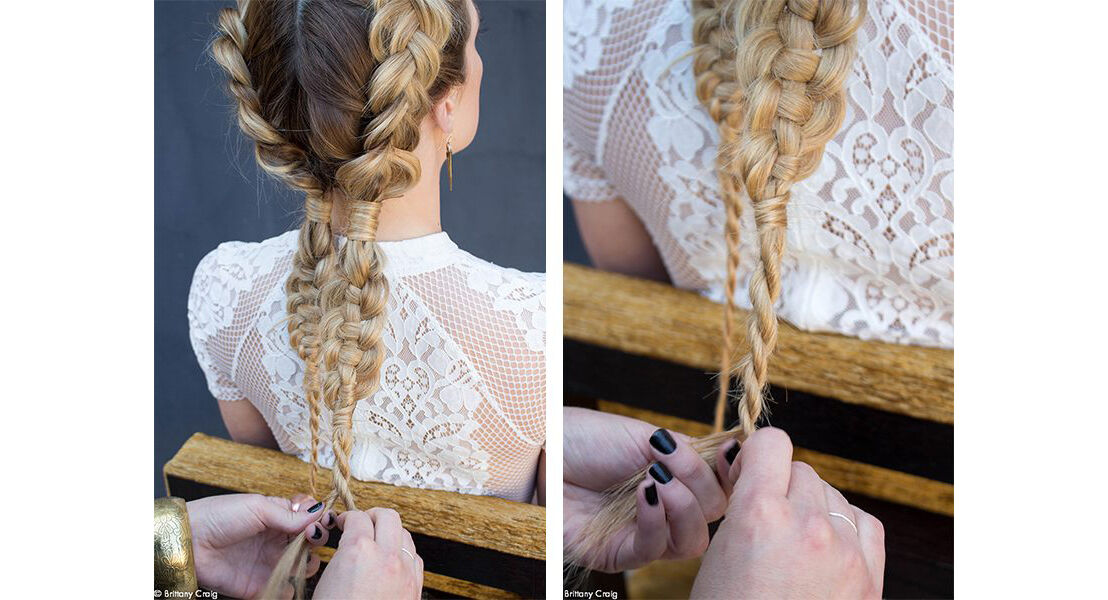
- Begin by sectioning the hair into four strands. From there, you will create a weaved pattern with the hair. From left to right number your strands 1, 2, 3, and 4. *Note that strand 3 will never move.
- Begin weaving by taking strand 1 over 2, under 3, and over 4. For the next row (moving right to left) take strand 4 over 3 and under 2. Next (moving left to right) take 2 under 3 and over 1. This will bring you back to strand 1, which will move right to left over 3 and under 4. Keep going over under, from side to side.
- Once you have come to a stopping point, find strand 3 which should still be in the same place. Hold onto strand 3 and push the rest of the braid up to its base. You may need to adjust a few of the pieces slightly to create symmetry, or more asymmetry if you prefer that!
- To finish this braid, take a strand of hair to finish wrap the ends before moving onto the rope braid.
How to create the rope braid:
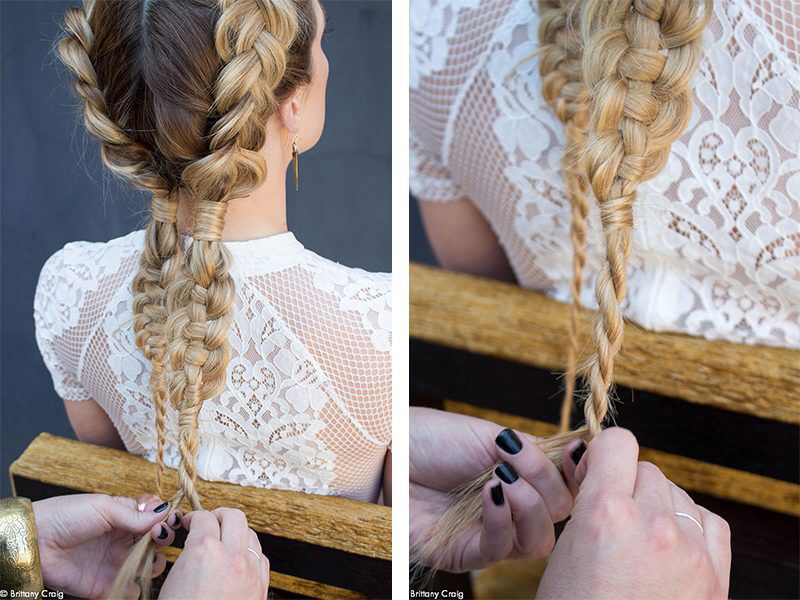

- Start by sectioning two strands from your remaining length.
- Then begin to twist strands individually to the left.
- Once tightly wound, twist strand 1 over 2 and complete the rope braid.
- Then, finish with a small clear rubber band to hold the style gently in place.


