FASHION
Apr 7, 2021
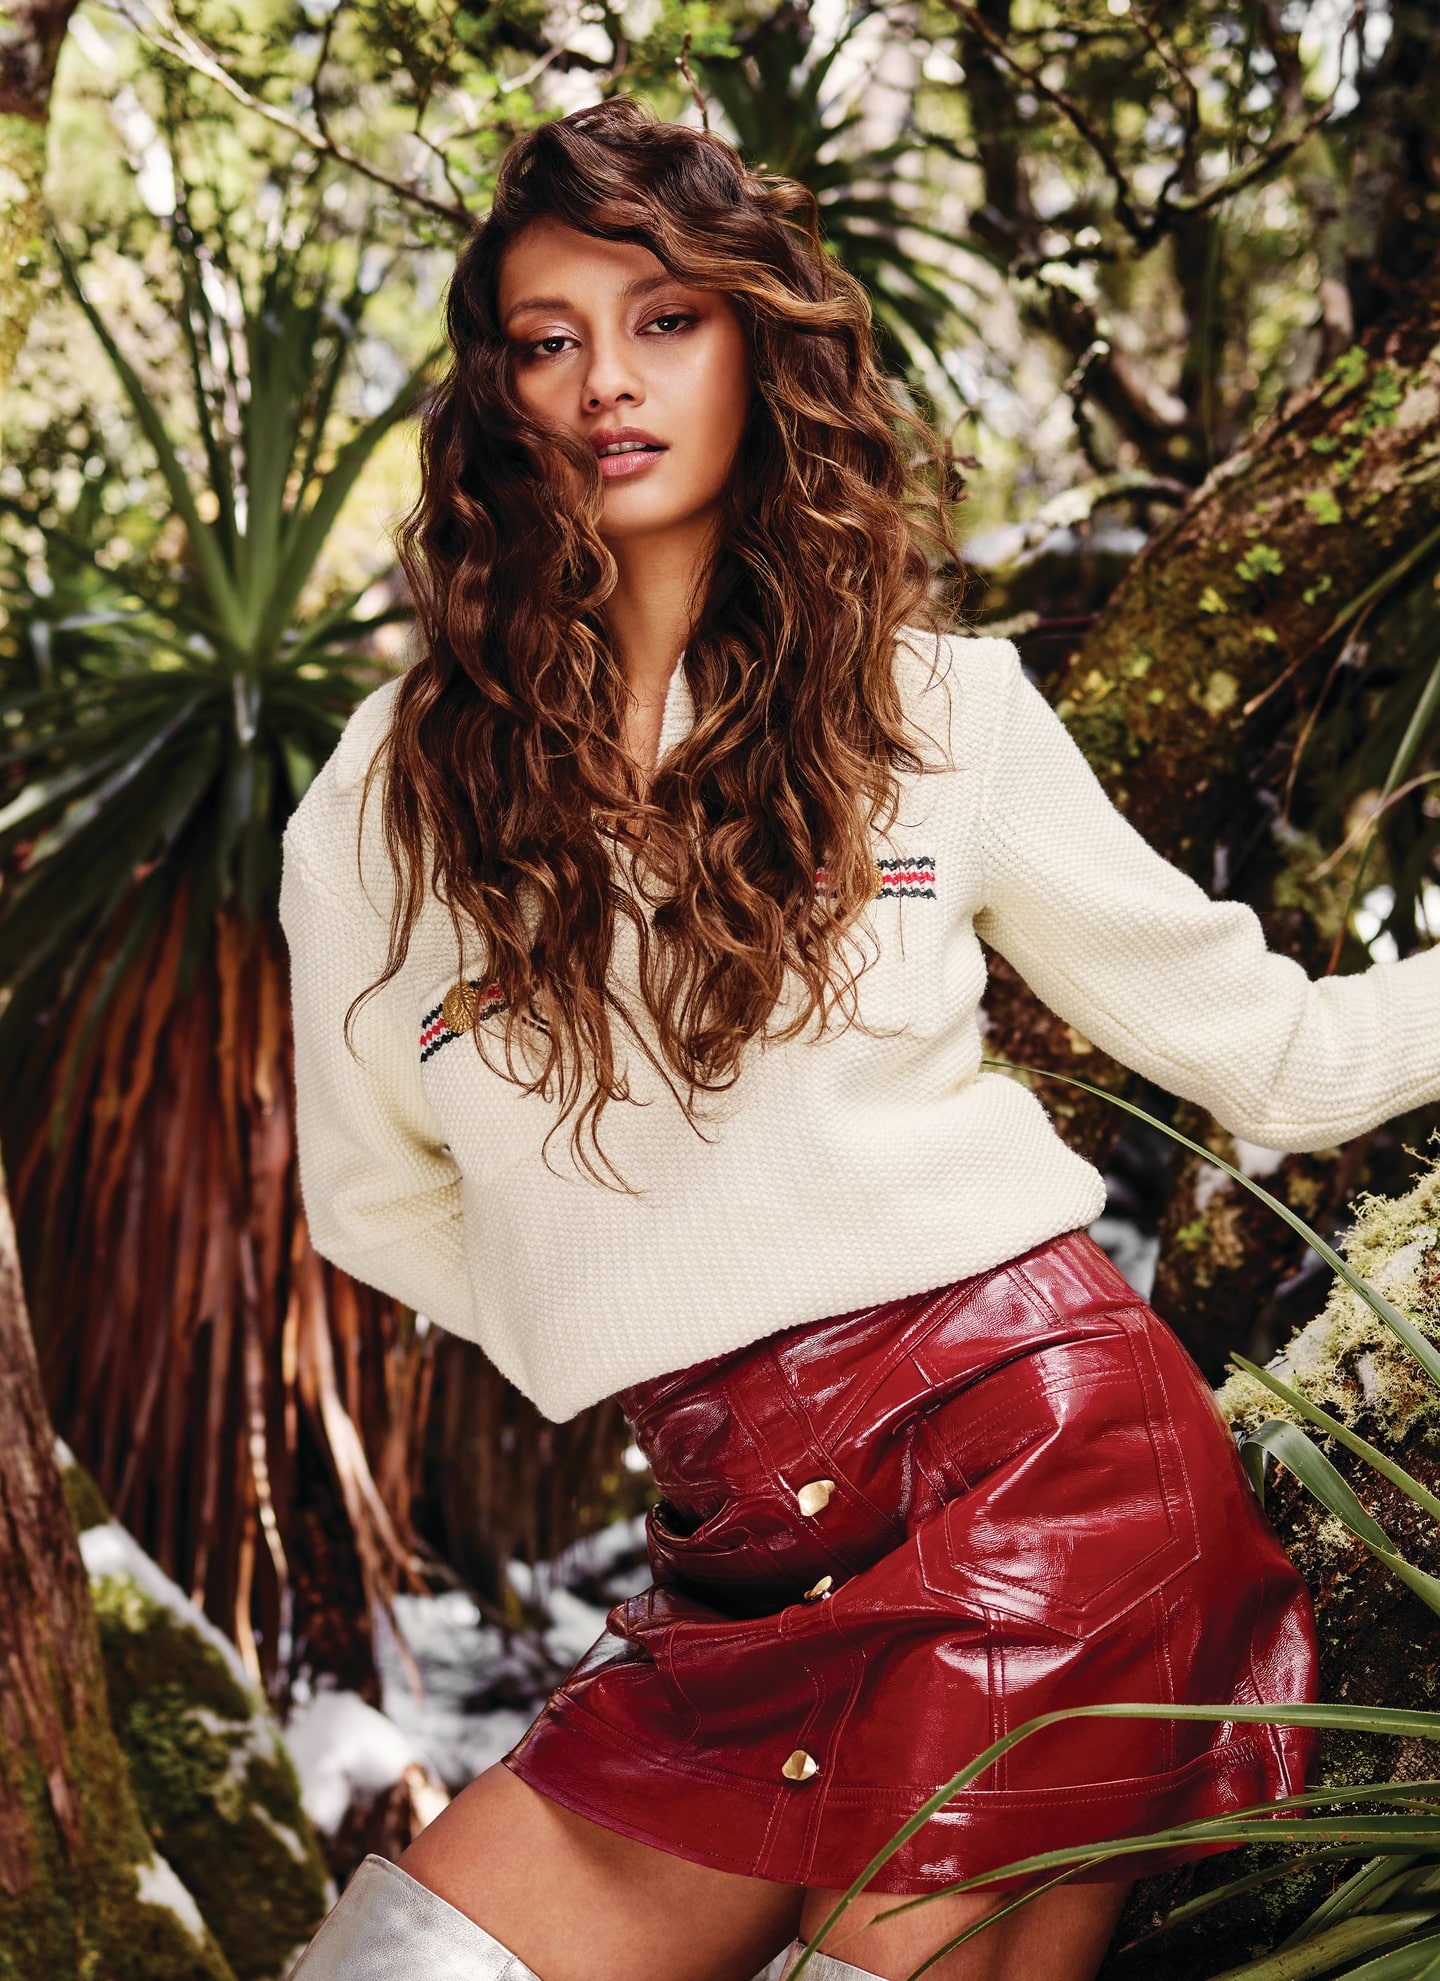
How To Do Regencycore Hairstyle


There’s a new trend in town, borrowing inspiration from the 19th century, that’s making waves throughout the world of fashion, hair and makeup.
A consequence of our self-isolated surroundings, society has looked largely to film, television and TikTok to predict the top trends this past year. One of the biggest movements from the likes of Netflix has surrounded Regencycore — popularised by the hit Shonda Rhimes show Bridgerton. Drawing over 60 million fans for its 2020 Christmas Day release, the show has since been the inspiration for countless memes and fashion orchestration. Ultimately, a nostalgic aesthetic movement, Regencycore is named after Britain’s 19th century Regency Era — a time of opulence, developing culture, gossip and gloss.
In today’s fashion, we’ve seen the impact of this era with the addition of pearls, corsets, intricate upstyles and hair accessories. Giving us a glimpse into the world of Regencycore and how it applies to hair, KEVIN.MURPHY STYLE.MASTER Sarah Lund has created a stunning collection that pays tribute to the most glowing, ethereal aspects of this time. We can almost hear the gilded carriages clamouring their way down cobblestone streets now…
Carley


Get The Look:
1. Prep hair by layering ANTI.GRAVITY.SPRAY and BODY.BUILDER, and blow-dry with a LARGE ROLL.BRUSH
2. Starting in the back, curl small sections away from the face with a 0.5” wand.
3. Once cool, brush out your set with a STYLING.BRUSH and use SESSION.SPRAY to pull sections together.
4. Finish with BEDROOM.HAIR to define curls
*Pro-Tip: If photographing, use a large flat piece of cardboard to waft wind into the hair. This gives the look lift and movement, making the hair come alive.
Carley (look #2)


Get The Look:
1. Split hair down the middle creating two sections. Prep each section with DOO.OVER for hold and texture
2. On each side, make a loose 3-strand braid, starting just behind the ear and secure with an elastic.
3. Sprinkle POWDER.PUFF on braids, fatten and pull apart. Then, criss-cross the braids over top of head and pin into place.
4. Finish with more DOO.OVER for a soft velvety finish.
*Pro-Tip: Pull face-framing bits out before braiding for added softness. Curl with a large iron and spray with DOO.OVER to keep the look soft and airy.
Hope


Get The Look:
1. Prep hair with ANTI.GRAVITY and rough dry.
2. Curl hair away from face with a 1” wand. Use horizontal sections and curl on-base. Clip in place to cool.
3. Comb out sections with a TEXTURE.COMB. Next, laminate large sections with DOO.OVER to give light hold and texture.
4. Finish with SESSION.SPRAY FLEX for added shine and hold.
*Pro-tip: To hold head pieces into place either:
- Backcomb hidden sections where you want head piece to sit. Then criss-cross bobby pins over those sections, securing the piece into place
- Make a halo out of clear jewelry elastic. Then, section the hair out, placing the halo around the hair piece like a headband, and cover with hair.
Peyton
Get The Look:
1. Prep hair with ANTI.GRAVITY.SPRAY and rough dry.
2. Separate hair into four quadrants, then split the back two sections in half horizontally so you have six total sections.
3. Starting in back, curl vertical sections away from face using a 1” clamp wand. Start at base and twist sections into the iron. Spray curls with SESSION.SPRAY FLEX
4. Once cooled, comb back and away from face and finish with DOO.OVER
*Pro-tip: An easy tip to make your own version of this headband:
- Start with a thick, puffy headband. Wrap headband in desired colour fabric or ribbon.
- Glue silk flowers onto the headband, starting in the middle.
- Keep the look full by making sure to glue the bases of flowers close together.
- Add pearl strings, sparkles or anything you want for a individualised finish!